Wooden case line speaker
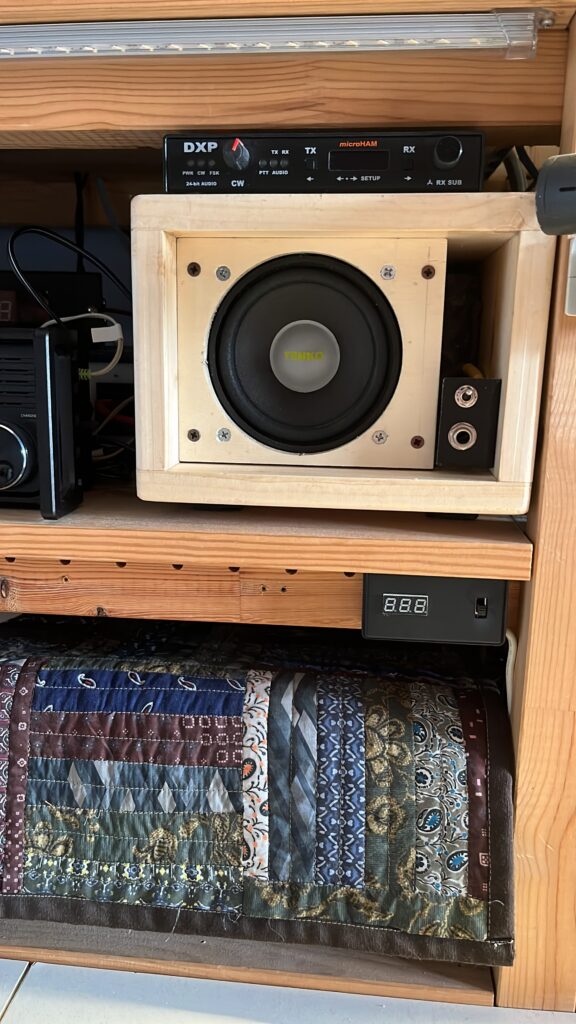
Da tempo volevo cimentarmi nella costruzione di una cassa di linea in legno Tempo fa ho trovato in un mercatino un’altoparlante da 4 pollici a poco prezzo ed ho deciso di provare a “progettare” e realizzare la mia cassa acustica di linea, praticamente un gioco spendendo poco … la tavola da 18 mm trovata dal solito brico in offerta a 6,50 euro ed essendo attrezzato per lavorare il legno ho iniziato a divertirmi
I had wanted to build a wooden case line speaker for a long time. Recently t an hamfest I found a NOS 4 inches speaker (defined as a woofer) for few bucks so I decided to start my project. In addition I found a wooden board 18 mm thick at bargain price so the cheap game could begin…so let’s try
Non avendo alcuna esperienza in materia di progettazione di diffusori acustici , mi sono affidando ad Intenet ed mediando fra le mille possibilità trovate sono arrivato ad un dimensionamento che incontrasse le mie esigenze. Francamente non mi aspettavo risultati soddisfacenti…e invece
As I have no skill in acoustic design I surfed the Internet and merging the lot of solutions I met I found the sizing I need. Of course I didn’t expect any satisying result … but I was proven wrong
Costruzione / Building
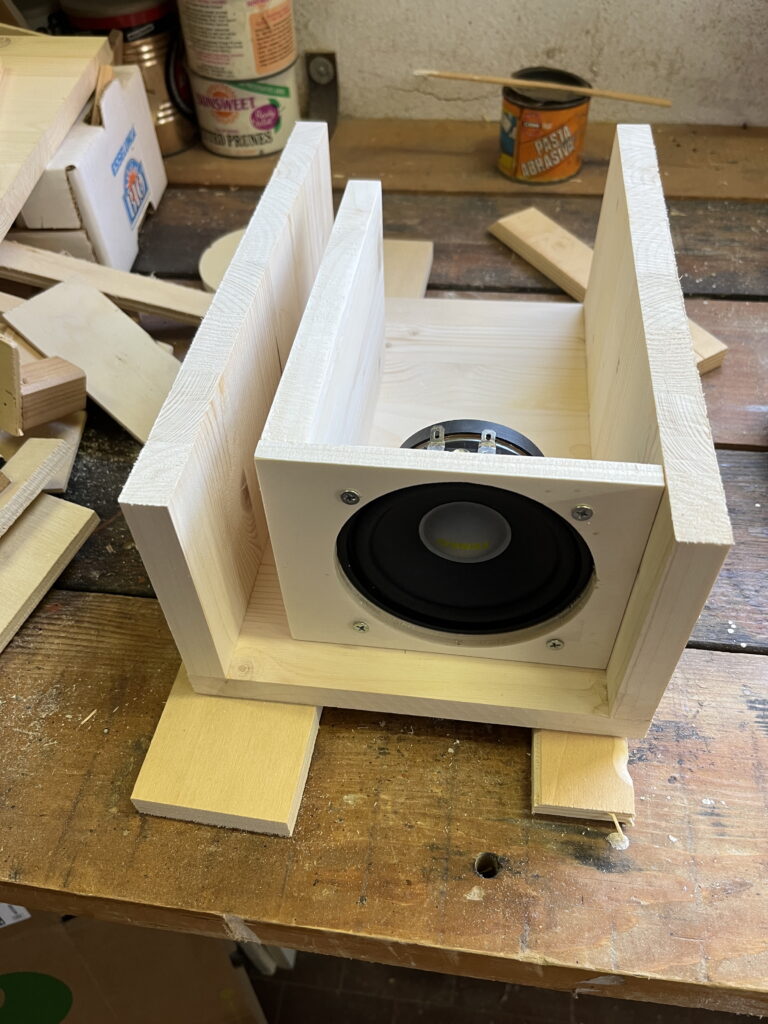
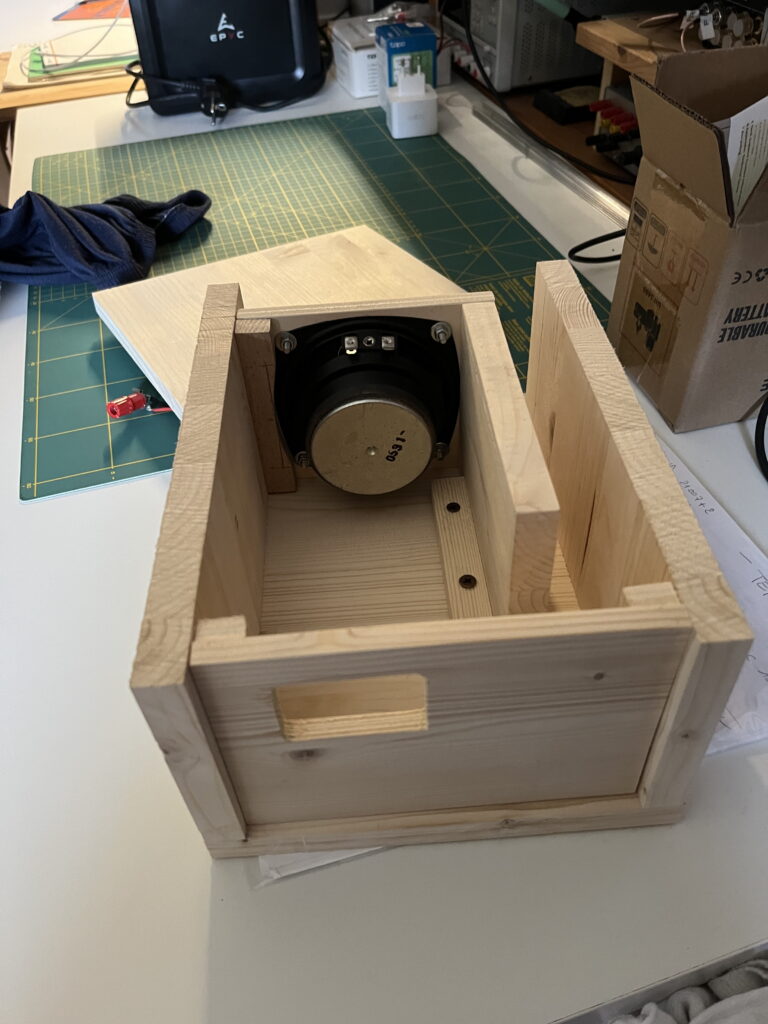
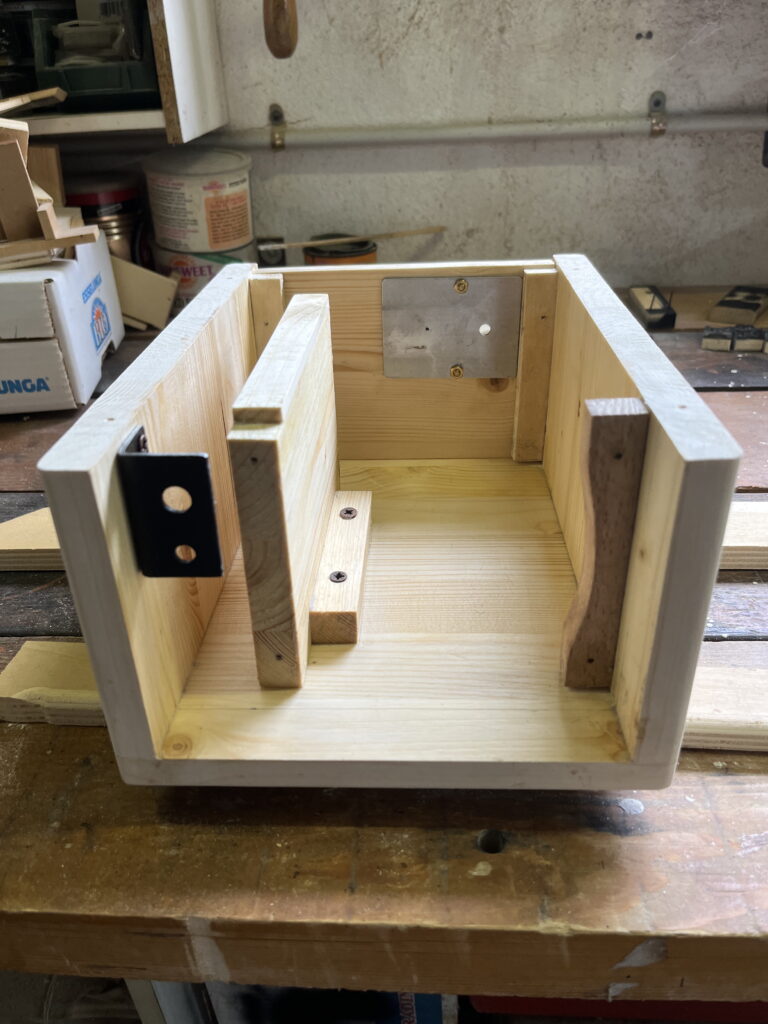
Per la costruzione ho utilizzato una tavola lamellare spessa 18 mm e del compensato da 10 mm. Nelle foto che seguono vedrete come ho assemblato le parti (ovviamente è solo una indicazione, nulla vieta di usare altre soluzioni)
To build the case I used wooden board 18 mm thick and some plywood 10 mm thick (scraps from previous projects). Here below you’ll find how I assembled the case (of course you can do it in the way you prefer)


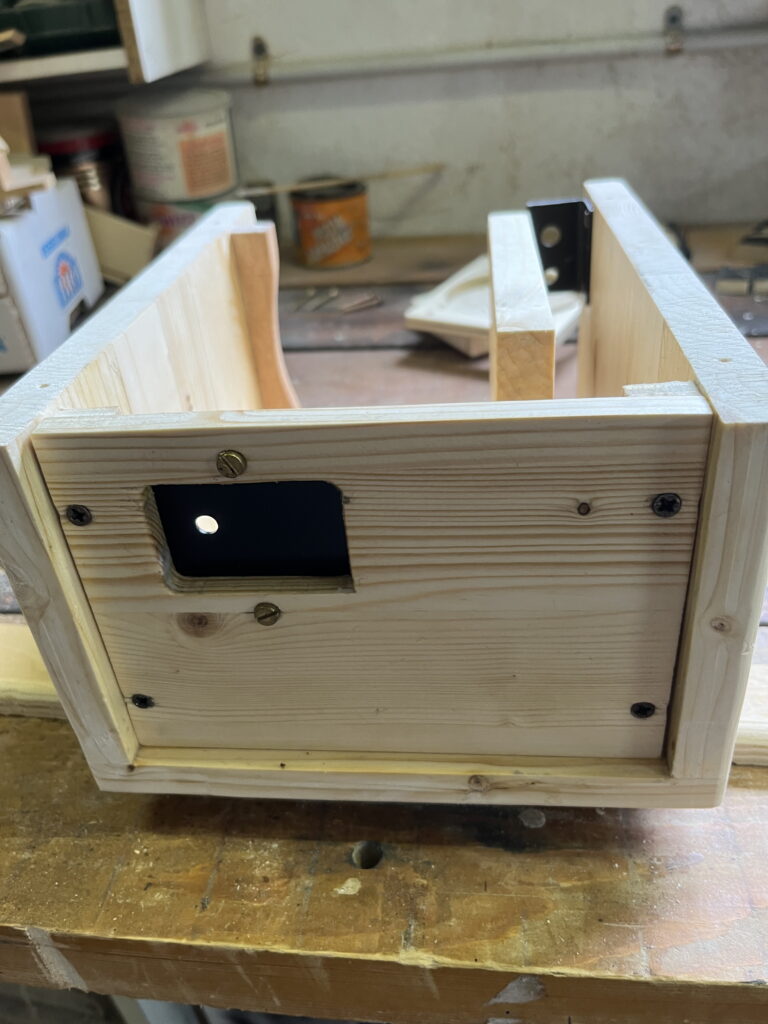
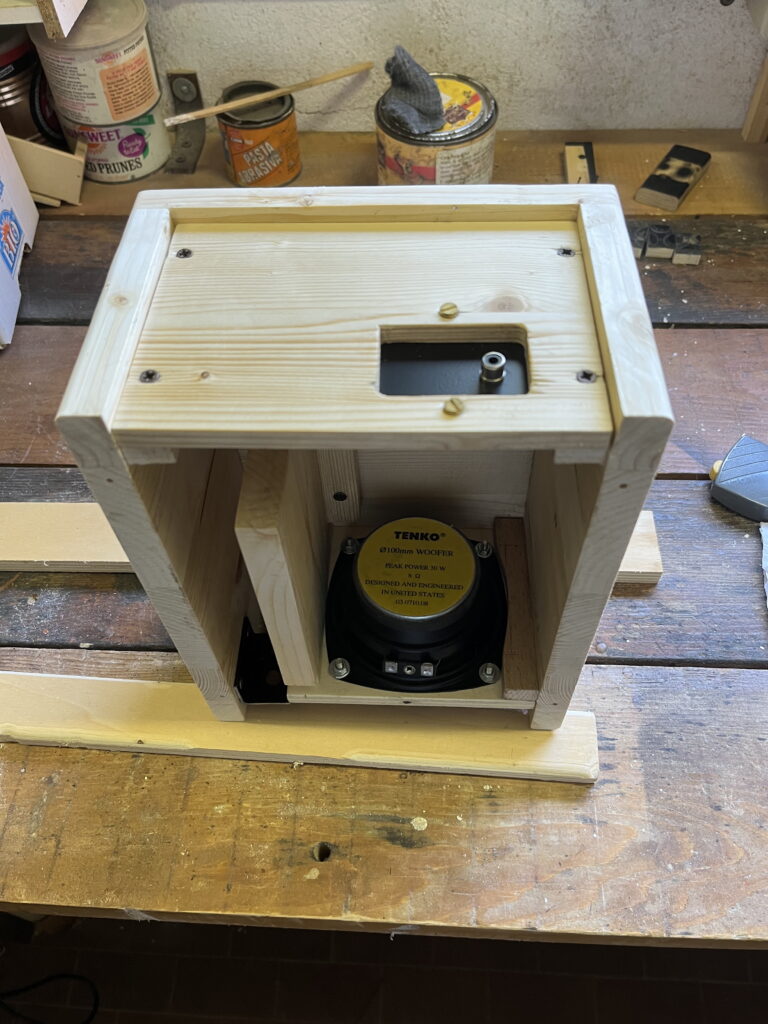

Sul frontale ho previsto un deviatore ed un jack da 6,3 mm per la cuffia. Mediante il deviatore è possibile inviare l’audio all’altoparlante o alla cuffia (purtroppo non disponevo di un jack stereo da 6,3 mm con la commutazione da spinotto inserito). Ho aggiunto un circuito (traendo spunto da un prodotto commerciale) che garantisce un carico sull’uscita audio della radio qualora il jack cuffia non sia inserito e si cummuta su cuffia. Sono presenti anche resistenze su tip e ring del jack che hanno lo scopo di proteggere l’audio qualora si inserisca un jack mono (che metterebbe a massa il ring del jack. Questo è lo schema del circuito
On the case front I provided a 2 position switch and a 1/4 female jack for headphone. The 2 position switch lets you to send audio to speaker or to headphone (unfortunately I hadn’t a stereo jack with switching contacts operated by the jack plug). I added also a little circuit that grants rig output charge in case you switch to headphone but no headphone is in. Resistors protect from grounding ring in case you insert a mono jack plug. Here is the diagram
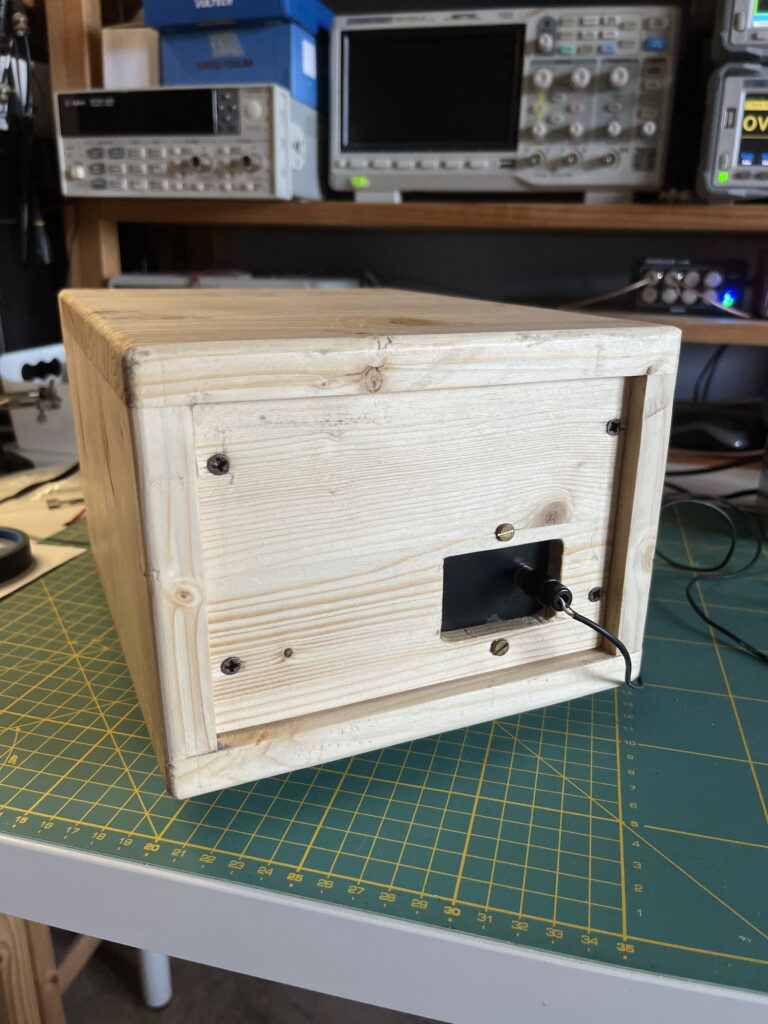
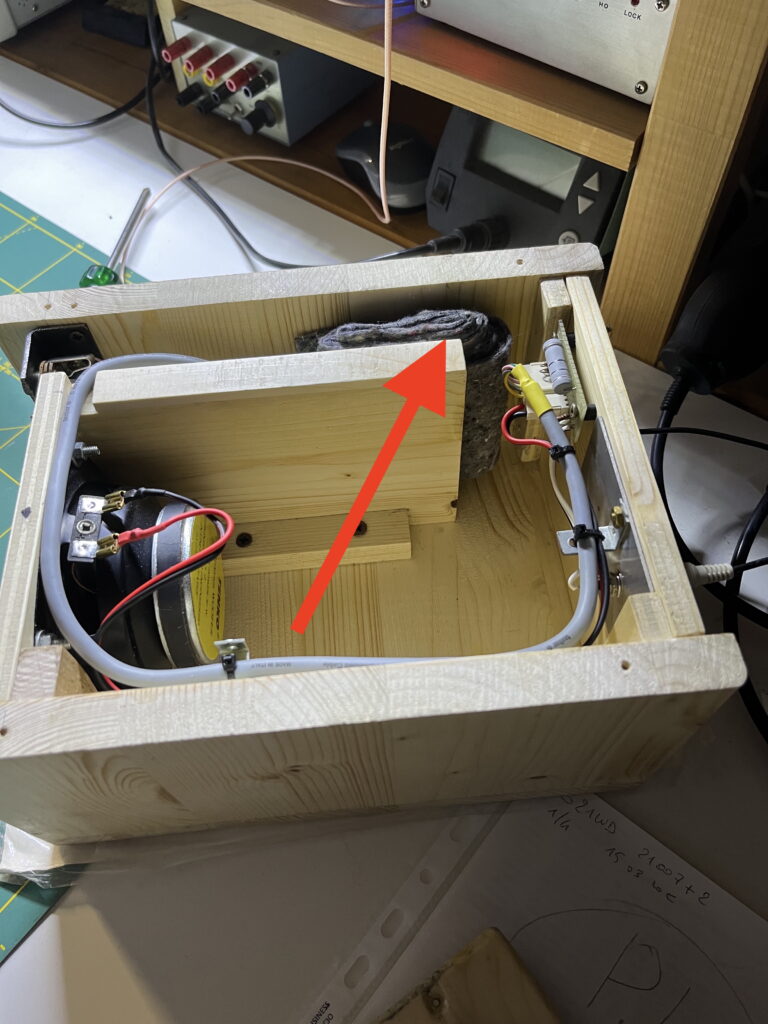
Ecco come si presenta la mia realizzazione completa del cablaggio / Here is how it looks my case with the cabling installed


Ed eccola completata mancante del pannello frontale in stoffa e prima dell’ultima carteggiata e della successiva lucidatura a cera / And finally line speaker is completed, it misses the front fabric cover and the latest sanding and wax finishing

Questi sono i disegni con indicate le dimensioni che ho usato io, nulla vieta di adattarle alle proprie esigenze / Here are drawings and dimensions I used to build my case. They’re for reference and not mandatory, you can adapt them to match your needs
Messa a punto / Tuning
Una volta costruita è necessaria una messa a punto finalizzata ad ottimizzare la risposta in frequenza. Io facendo solo CW mi sono focalizzato sul segmento 500-1000 Hz. Per questa operazione è stato fondamentale l’utilizzo di questo programma gratuito e multipiattaforma. In pratica ho posizionato il mio MacBook a 50 cm dalla cassa (chiusa col suo coperchio) in modo che attraverso il suo microfono ascolti i suoni in uscita dalla cassa ed ho collegato l’scita cuffia del MacBook all’altoparlante. Chiuso poi in religioso silenzio per non alterare la misura ho proceduto. Qui il programma che ho usato
Once built you need to optimize the frequency responce. As I operate only CW I payed attention to 500-1000 Hz segment. To tune my line speaker I used a free software that’s available for Win-Mac-Linux. To do measures I placed my MacBook at about 50 cm from the speaker (of course with the bottom cover mounted) so MacBook internal microphone listen to my line speaker sound. MacBook audio output was used to drive the line speaker. Then with no noise in the room (wife for example HI) you can start with measures. Here below the software I used:
La prima misura non è stata soddisfacente perchè c’era un “buco” intorno ai 700 Hz. Non disponendo delle necessarie conoscenze tecniche ho dovuto procedere per tentativi aggiungendo pezzi material fono assorbente. Ogni volta toglievo il coperchio inferiore, posizionavo il fonoassorbente, richiudevo la cassa ripetevo la misura (lasciando il MacBook fermo e mettendo la cassa sempre nella stessa posizione)
First measure result was depressing ! There was an “hole” at around 700 Hz. As I have no skill I tried some temptatives by adding some sound-absorbing blocks inside the case. For each temptative I uncovered the case, placed block in a certain position, close the case and perform measurement. In these steps the MacBook and the line speaker were left always in the same position (otherwise measures are different)
Al primo tentativo qualcosa è migliorato ma non ancora soddisfacente ed a poco è servito spostare il fonoassorbente lungo il canale
At first temptative something was improved, but still not statisfying me. Moving the block along the air duct didn’t pay
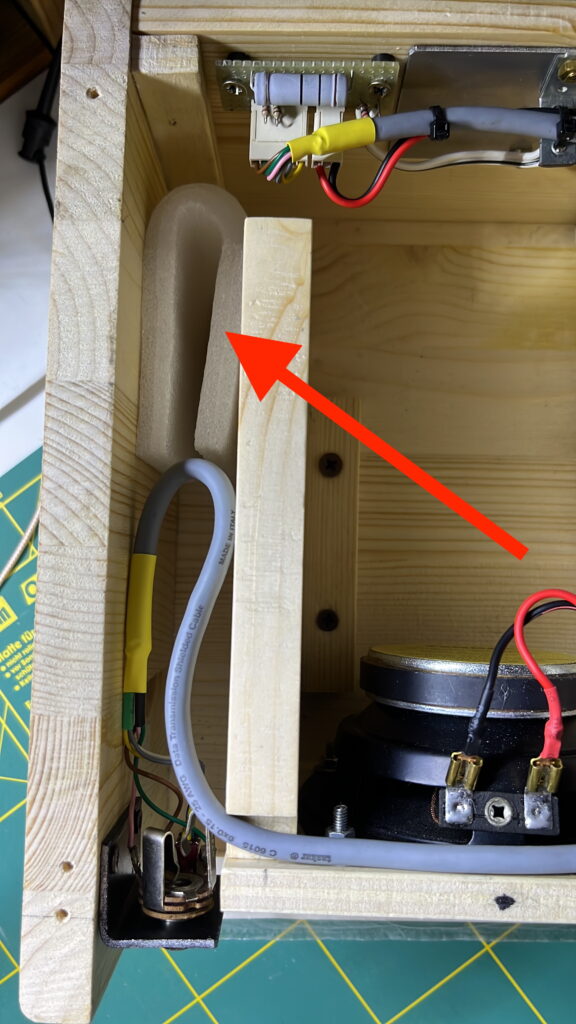
Successivamente ho trovato la soluzione che portava la risposta in frequenza come volevo io usando un tampone di ovatta e spostandolo lungo il canale fino a trovare la risposta desiderata
After several temptatives I used a wadding block and moving it along the air duct I found the frequency response I was looking for.
Questo è il risulato della misura / Here is the result

C’è un “buco” a 430 Hz ma non mi crea problemi e fino a 2,5 KHz l’andamento per me è più che accettabile / There’s still an “hole” at about 430 Hz but it doesn’t matter for me and response is good until about 2,5 KHz, more than acceptable for me
Ora è in uso corrente ed èla cassa che uso per l’uscita Main del mio 7610 / Now it’s my 7610 main receiver companion
….. that’s all folks ! Have fun
TU 73 de Giorgio IK1BXN
mail to: ik1bxn@ik1bxn.it